Independent Study in 3D Animation - Spring 2012
Supervised by Associate Professor, Darrell Kincer, this course was designed for students who wanted to learn a subject that was either not taught by the department or an advanced course that prepared seniors for their thesis. Animation of any sort was not taught by the college, so I outlined a schedule for myself to learn the basics of 3D animation.
Concept
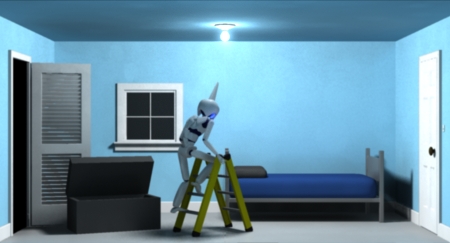
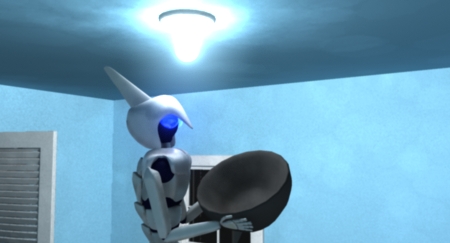
My initial reasoning for this course was to prepare myself for my thesis, which was also going to be 3D animation. To get things started, I developed a simple story of a character suffering from insomnia, and the character goes through several shenanigans in an attempt to stop the problem.
As per time constraints and novice skills in animation, I decided to model my robot for this scene in preparation for my thesis. In hindsight, a robot would not suffer from insomnia, but that was something that the professor and I were willing to overlook.
Here is the robot design I used, which came from my Storytelling and Sequential Art project.
Design and 3D Modelling
In preparation for the animation, I needed to create a 3D model. To do so, I created simplified sketch designs of the robot's anatomy, which help plot out the range of motion and kinetics. Here are the initial sketches I used for the 3D model, which shows the vital spinal curve and the segmented polygonal body parts:
Once I had a solid design, I began to create basic 3D models. In high school, I worked with Autodesk 3ds Max, which is a fairly easy program to model and animate in. When I signed up for this class, I signed up for a student license of Autodesk Maya, which has more advance features and a higher learning curve.
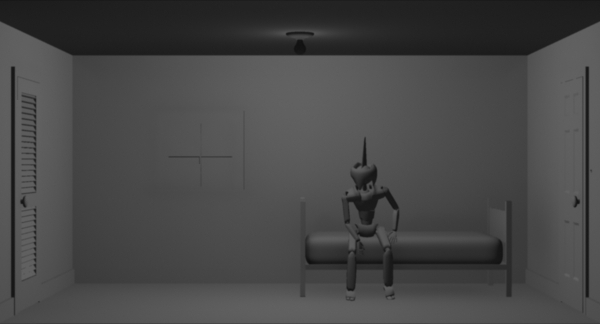
Modelling with Maya was more of a challenge than I had anticipated, but I was able to evolve the character with practice. The first image shows a low-poly mask versus the high-poly mask. The next image shows a simple placeholder body before I start adding spine segments.


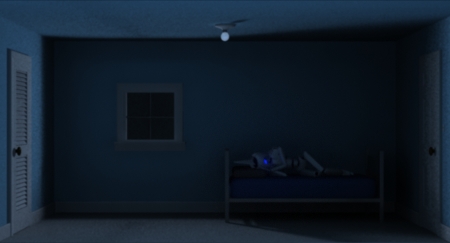
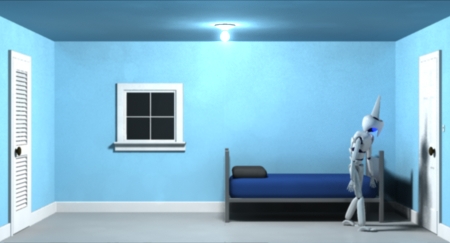
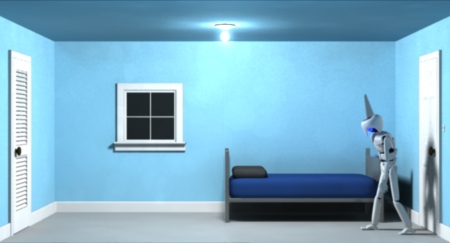
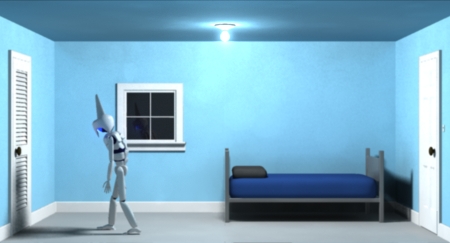
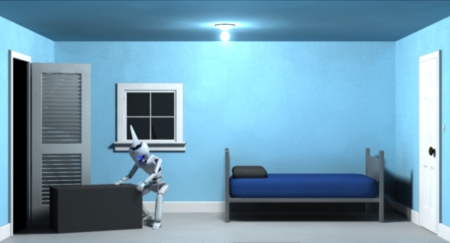
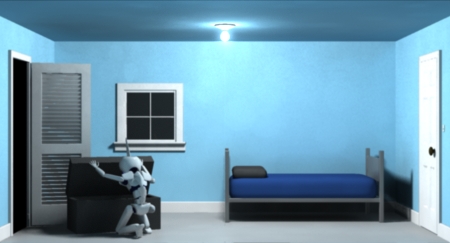
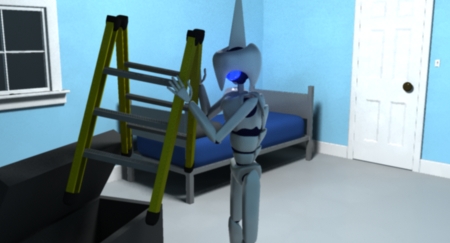
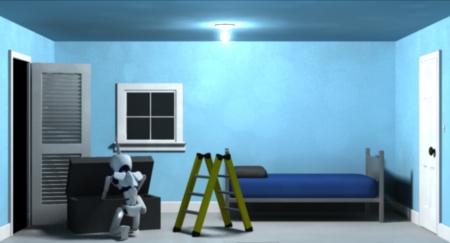
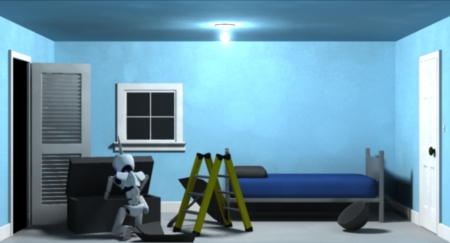
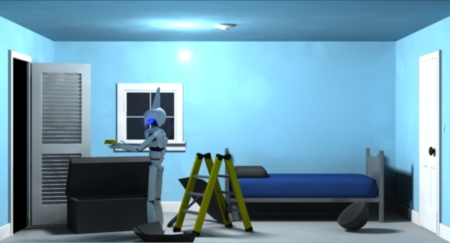
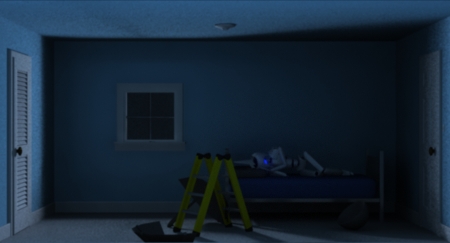
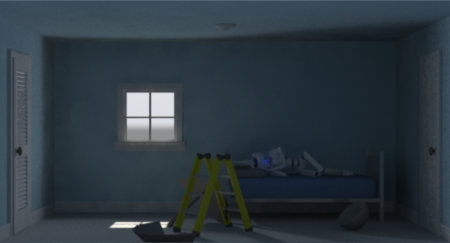
At the same time I built the scene, which is going to be a bedroom with a window.
Lights, Materials, and Shaders
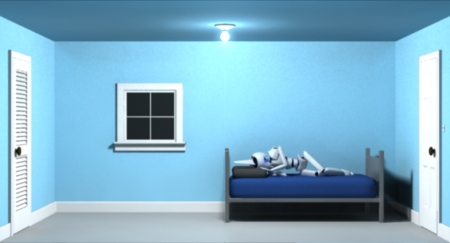
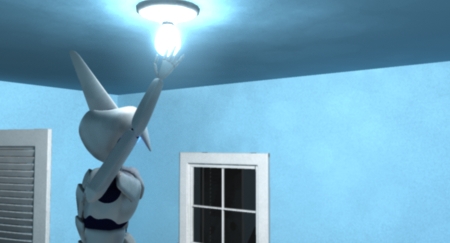
After the world is set, I then proceed with the placement and editing of lights and shaders. The world I created needs certain lighting to resemble a room, and the light has to affect the world and cast shadows in a believable manner. This first image shows default lighting, which casts no shadows. After I place a key point light on the ceiling, the correct shadows are cast in the second image.

Once the scene is lit properly, I then have to edit each object's material, because the tile floor reflects light differently than the bed cushion.
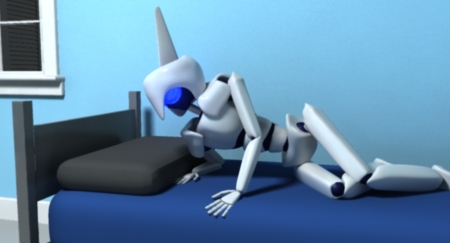
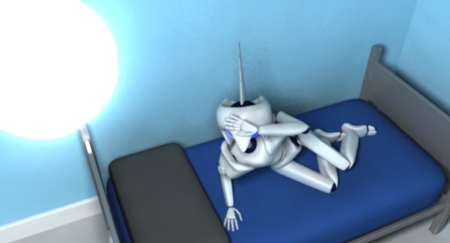
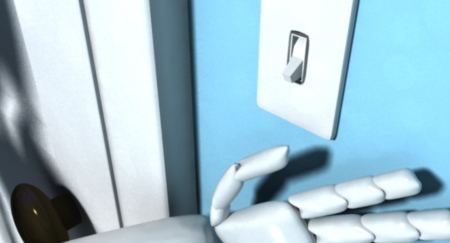
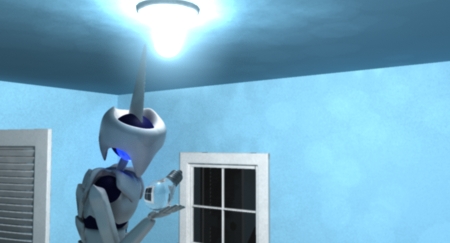
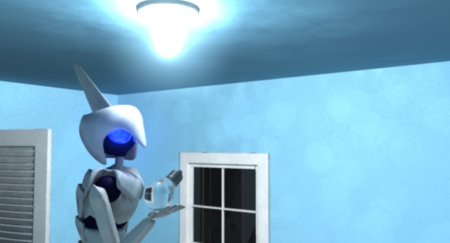
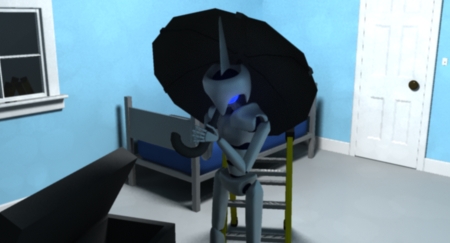
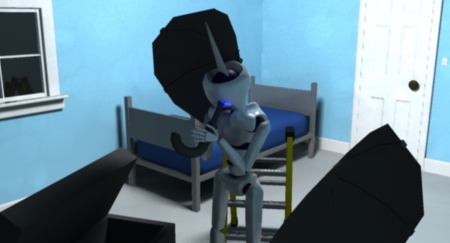
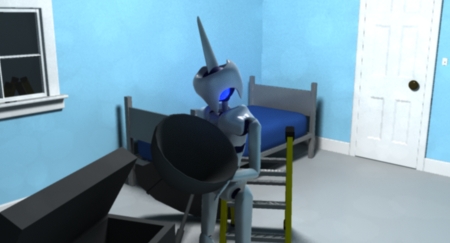
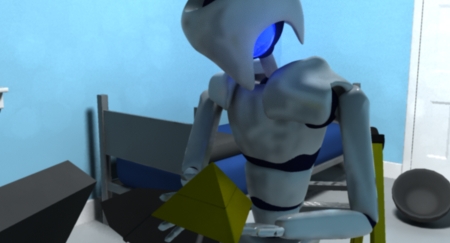
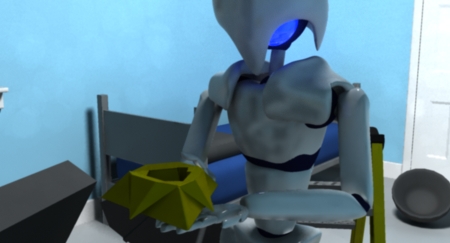
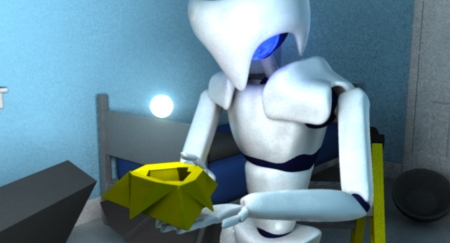
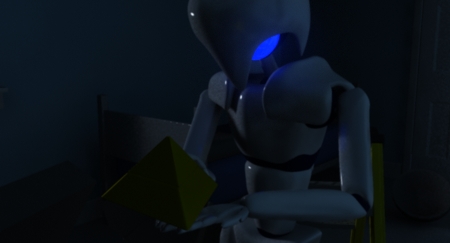
Here are some closeup images of the robot:


Conclusion
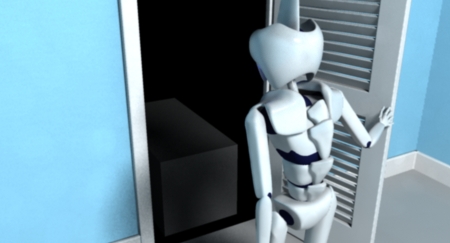
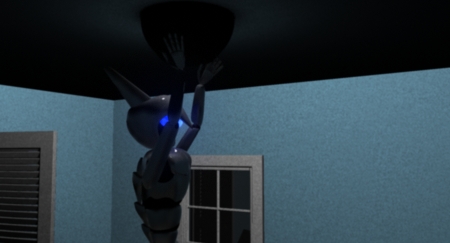
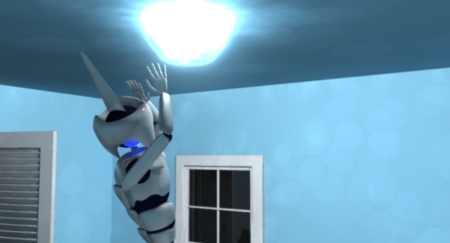
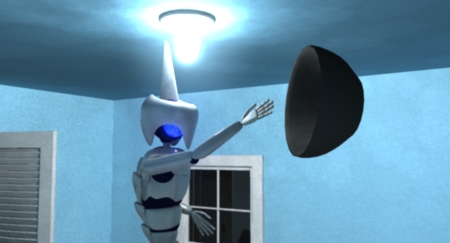
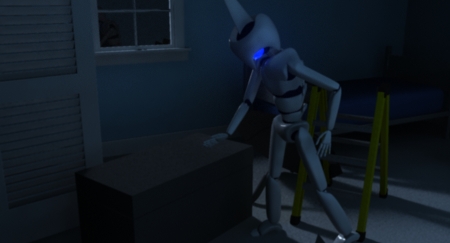
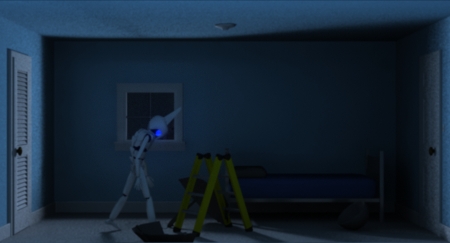
In the end, I had no time to create a fully rendered film, so I made a layout sheet of the film. There are 41 slides that tell a story of a robot about to sleep. As it drifts into a slumber, the room light turns on. Disturbed by this, the robot attempts to turn off the light in several ways, without success. After the robot takes control of the situation and proceeds to bed, the final conclusion ruins the robot's night.